The photo you just took is 4.7 MB. The form you're filling out says max 2 MB. You need to shrink it — fast.
You search for an online image compressor, find one, drag your photo in, and wait. Then you realize: this tool uploaded your private photo to a server somewhere. Maybe they store it. Maybe they don't. You have no way to know.
That specific worry is the reason Pixel Pocket exists. Every tool on this site runs entirely inside your browser. Your images never leave your computer. Not a single byte gets uploaded.
If that matters to you, let's walk through how to compress images using a tool that respects your privacy.
Why Compress Images
Image compression is about more than just making files smaller.
- Faster loading — An unoptimized photo can account for over 60% of a webpage's total resource size. Compressed images load faster and use less bandwidth.
- Meet upload limits — Email attachments, application portals, and social platforms all cap file sizes. Without compression, large images won't go through.
- Save storage space — Compressing a batch of images frees up significant disk space, especially if you work with images regularly.
A well-compressed image can be 70-80% smaller while looking nearly identical to the original.
What You'll Need
- A browser (Chrome, Firefox, Edge, or Safari — any modern one works)
- The image or images you want to compress
- About 30 seconds
No account. No email. No payment.
Step 1: Open the Image Compressor
Go to the Image Compressor page.
You'll see a drag-and-drop area and a few controls. That's the entire interface. No clutter, no ads, no upsells.
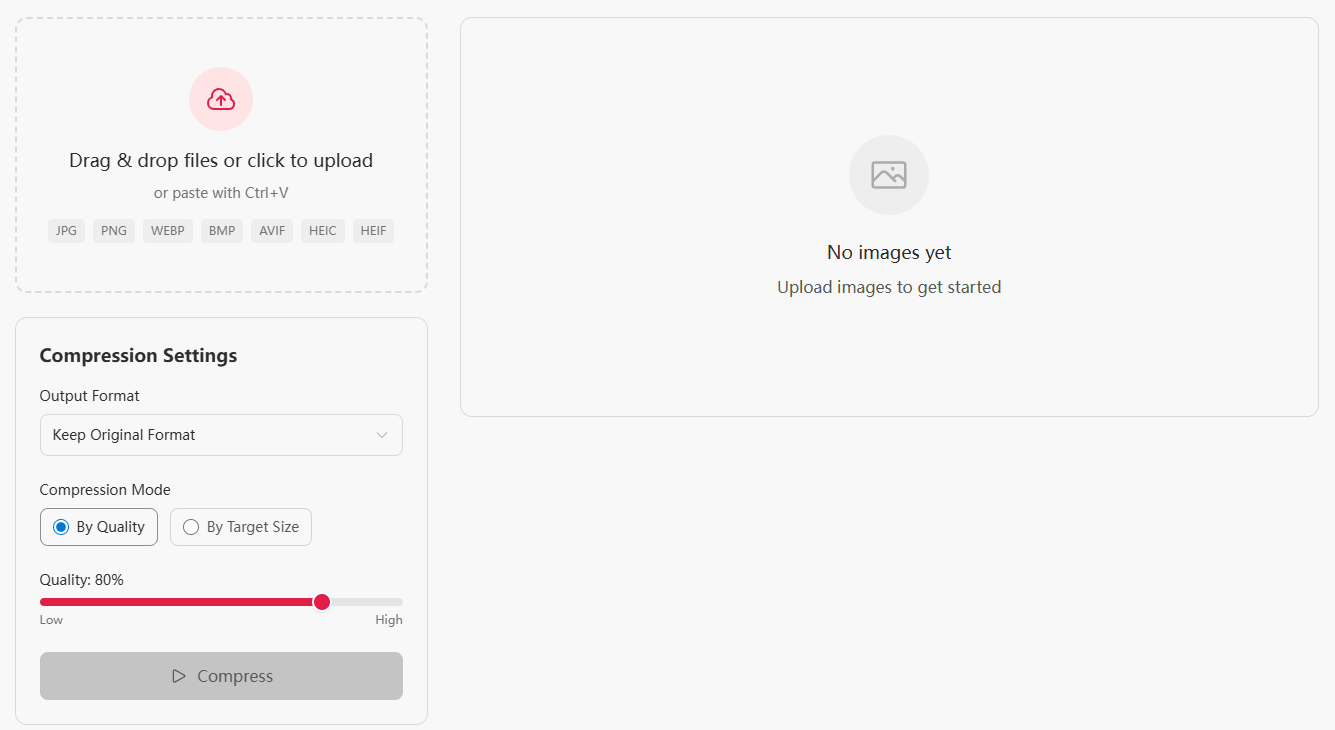
Step 2: Add Your Images
Drag any images from your computer into the drop zone, or click to select them. The tool accepts:
- JPEG / JPG
- PNG
- WebP
- BMP
- AVIF
You can add multiple images at once. There's no limit on how many you process in a single batch.
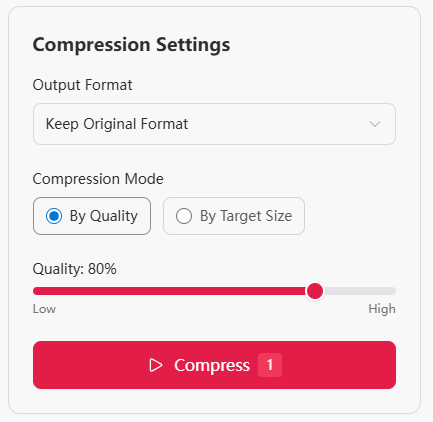
Step 3: Choose Your Compression Mode
The tool gives you two ways to compress. Pick the one that fits your need.
Mode A: Compress by Quality (Recommended)
Drag the quality slider to your preferred level. Here's a rough guide:
| Quality Setting | Typical Size Reduction | Best For |
|---|---|---|
| 90% | 20–40% smaller | Archiving, printing |
| 80% | 50–70% smaller | Web images, sharing |
| 60% | 70–85% smaller | Thumbnails, previews |
| 40% | 80–90% smaller | Placeholder images |
80% is the sweet spot for most people. The image looks nearly identical to the original, but the file size drops dramatically.
Mode B: Compress to a Target Size
If you need an image to be under a specific size — say, under 500 KB for an email attachment or under 200 KB for a website form — you can set an exact target file size. The tool automatically adjusts compression to hit that number.
This mode is especially useful for:
- Job application portals that limit upload size
- Social media platforms with file size caps
- Email attachments
Tip: Not sure which mode to use? Quality mode is best for most scenarios — it keeps the image as good as possible while reducing size. Target size mode is useful when you have a strict file size limit, such as a 500 KB email attachment cap.
Step 4: Optionally Change the Output Format
Here's something most free compressors don't offer: you can compress and convert at the same time.
While compressing, pick a different output format from the dropdown:
- WebP — significantly smaller than JPEG at the same quality. Great for websites.
- AVIF — the newest format. Even smaller than WebP. Browser support is growing fast.
- PNG — keeps transparency. Best for screenshots and graphics.
- JPEG — universal compatibility.
Real test: A 3.2 MB JPEG photo compressed at 80% quality and output as WebP → 312 KB. That's a 90% reduction, and you'd be hard-pressed to tell the difference on screen.
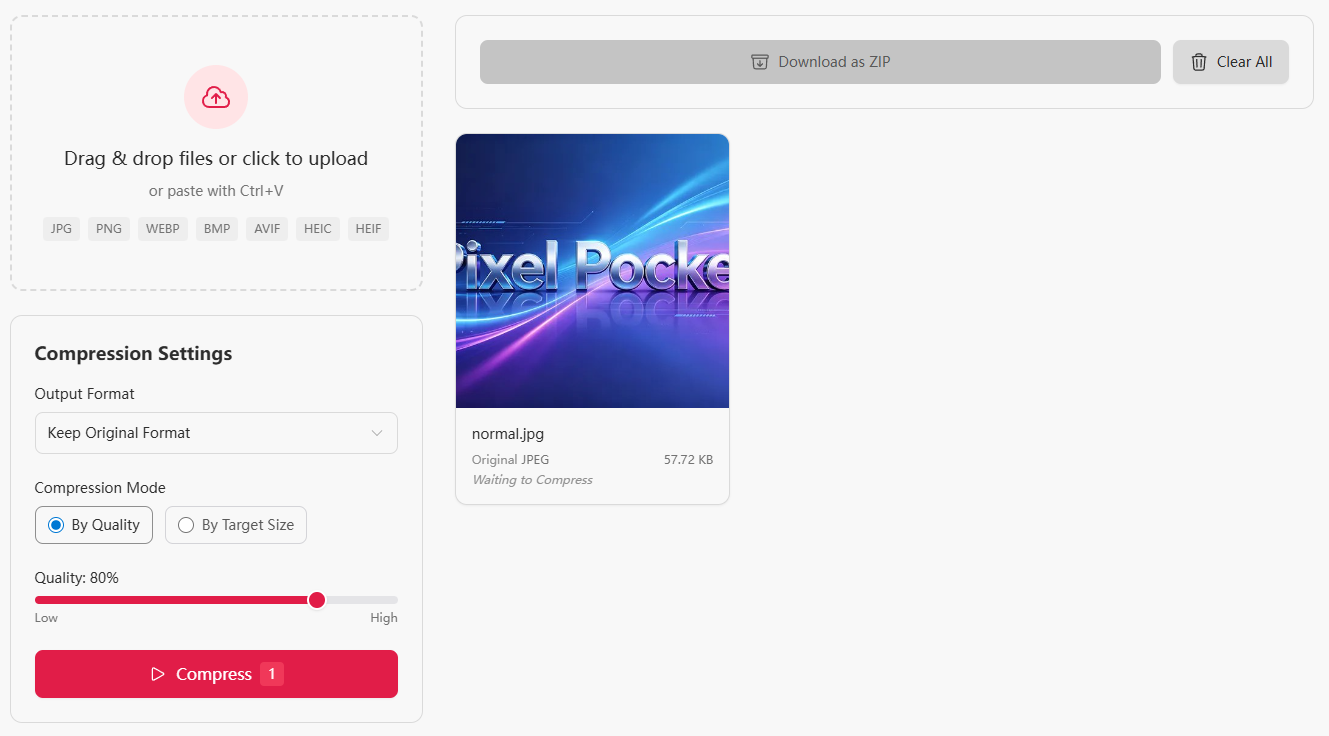
Step 5: Download
Once processed, you can download images individually or click "Download All" to get a ZIP file with everything.

Each card shows the original size, the compressed size, and the reduction ratio so you can see exactly how much space you saved.

Pro Tips
1. 80% quality is your default
In most cases, 80% delivers a file that looks indistinguishable from the original but is 50–70% smaller. Go lower only when size really matters.
2. Strip metadata before compressing
Images from phones and cameras carry EXIF data — timestamps, GPS coordinates, device model. The Image Compressor retains these by default. If you want them removed, use the Metadata Remover first, then compress.
3. PNG screenshots compress surprisingly well
A full-screen PNG screenshot (1920×1080) can often be compressed to 30–40% of its original size at quality 80, with zero visible loss.
4. For maximum reduction: compress + convert to AVIF
If you need the absolute smallest file possible, compress at 60% quality and convert to AVIF. A 5 MB photo can drop to under 200 KB while remaining perfectly usable for web display.
Frequently Asked Questions
Does compressing images reduce quality?
At 80% quality or higher, the difference is nearly invisible to the naked eye. Lower quality settings produce more visible artifacts but smaller file sizes. For most use cases, 80% is the sweet spot.
What's the difference between quality mode and target size mode?
Quality mode keeps a fixed quality level — file size varies depending on the image content. Target size mode keeps a fixed output size — quality adjusts automatically to hit your target. Use quality mode when image fidelity matters most; use target size mode when you have a strict file size limit.
Can I convert format while compressing?
Yes. This is a unique feature — you can choose WebP, AVIF, PNG, or JPEG as the output format while compressing. Compression and format conversion happen in one step.
Is it safe? Will my images be uploaded?
Yes, it's safe. Everything runs locally in your browser. Your images never leave your computer. All data is cleared when you close the page.
What image formats are supported?
JPEG, PNG, WebP, BMP, and AVIF for both input and output. No matter what format your original image is, you can compress and convert it to your preferred format.
How many images can I compress at once?
There is no limit. You can drag in a few images or dozens at once — the tool handles them all in a single batch.
Try It Now
The Image Compressor is free, requires no account, and never sees your files. Open it, drag in an image, and see how small you can go.
Also check out:
- Image Format Converter — convert between JPEG, PNG, WebP, AVIF, and BMP
- Metadata Remover — strip EXIF and hidden data from your photos